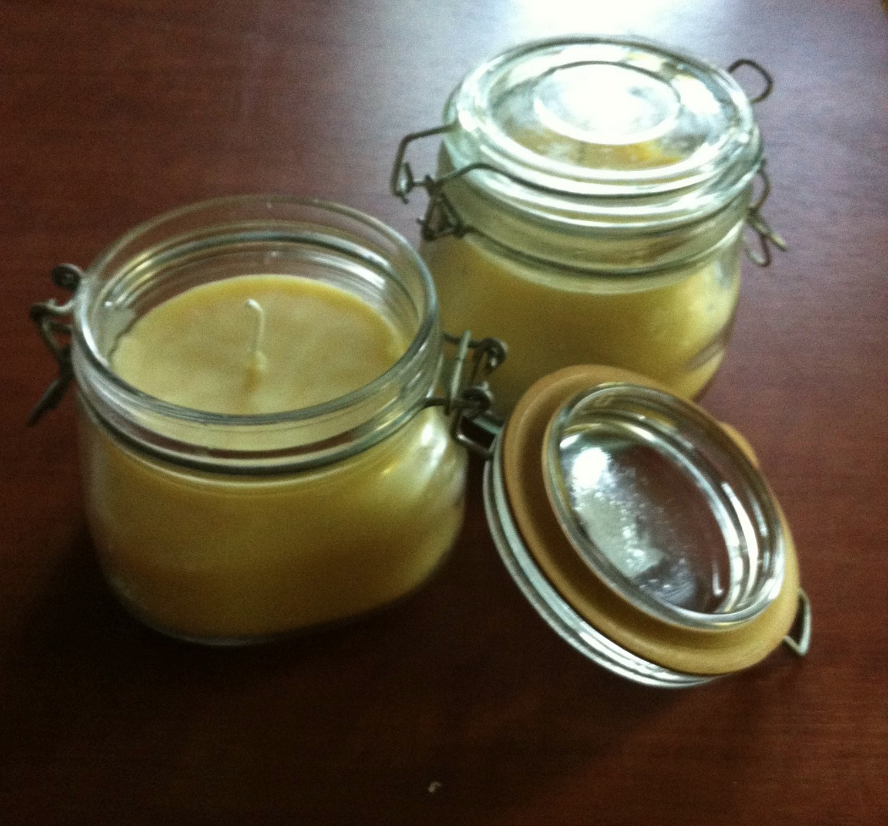
Once again I am tipping my hat off to the bees!
I have always been a person who loves burning candles in her home. It’s not just the incredible smell they produce, but also the relaxation feeling they provide. However, what I don’t love is what else is burning into the air when using paraffin and soy candles ( which most storebought candles come from).
A few years ago I made the switch to making my own candles and using beeswax. Unlike paraffin candles (which release carcinogens like toluene and benzene into the air) and their soy counterparts (which are often derived from GMOs), beeswax candles actually draw toxins out of the air with their cheerful flame.
So they smell good, give you the warm fuzzies of burning candles AND they help clean the air! How cool is that!
Beeswax releases negative ions when it burns. Pollen, dust, dirt, pollutants, and any other junk in the air all carry a positive charge, and that is how they can be suspended in the air. The negative ions released from burning beeswax negate the positive charge of air contaminants and the neutralized ions are sucked back into the burning candle or fall to the ground. Beeswax candles can even be known to reduce the symptoms of asthma, allergies, and hay fever by drawing pollutants out of the air.
Do I have your attention yet?
So for me, it’s a no brainer! Beeswax candles are the best form of candles you can burn! However, the downfall with them is the price tag….unless you want to make them your own!
This recipe makes 40 ounces of candle wax. I divided mine between four 12 oz containers so that they were filled but not overflowing. Of course, you can make them smaller or larger! This is a great activity to do with friends, kids or even to spend a relaxing Saturday! It’s a bit of time and effort but these will last you SO long and you won’t regret burning something you can 100% be confident in is natural, not polluting your air and as a bonus is even helping to clean your air!
Ingredients:
- 1.5 pounds filtered beeswax (see tutorial below if your beeswax is unfiltered. I recommend using organic because contaminants such as pesticides that are used on industrially produced hives will collect in the wax.)
- 1 cup of coconut oil
- 20 inches of cotton wick – avoid ones that contain a metal core as even the zinc ones may be contaminated with lead or tin and see above for thickness recommendations
- Wick clip (optional – I didn’t use one but it does help keep the wick in place when it has burned down to the last bit)
- Glass jars – I used four 12 ounce mason jars, which left about 2 ounces worth of room left at the top of each jar
- Double boiler or pot with smaller pot fitted inside
- Thermometer
- Four pencils and a pair of scissors
Instructions:
- Step 1: Cut a length of wick that is about 2 inches longer than the height of your jar. Tie the wick around a pencil and position it over the center of the jar.
- Step 2: In a double boiler (or large pot of simmering water with a smaller pot resting inside), gently melt the beeswax over low heat. When the beeswax is fully melted, add the coconut oil and stir until everything is melted and combined. Bring the mixture to about 160-165F.
- Step 3: Set your Wick! To do this, first pour a thin layer of beeswax in the bottom of your jar, and then gently press the tip of the wick into place with your finger or the end of a pen, and pull on the wick so that it hardens nice and straight – this will take about a minute or less.
- Step 4: Allow to harden for 24 hours, then trim the wick to about 1/4 inch. Allow curing for another 24 hours before using it. When lighting your candle, direct the flame at the base of the wick so that some of the wax melts and is drawn up into the wick – this helps it burn properly. Allow candle to burn long enough so the wax melts out to the side of the jar. This helps to prevent tunneling (when the middle melts down with lots of wax leftover around the edges). Never leave a candle unattended.
XO
B

